Saturday, May 26, 2012

Man in the moon clock case make over

My copy cat!

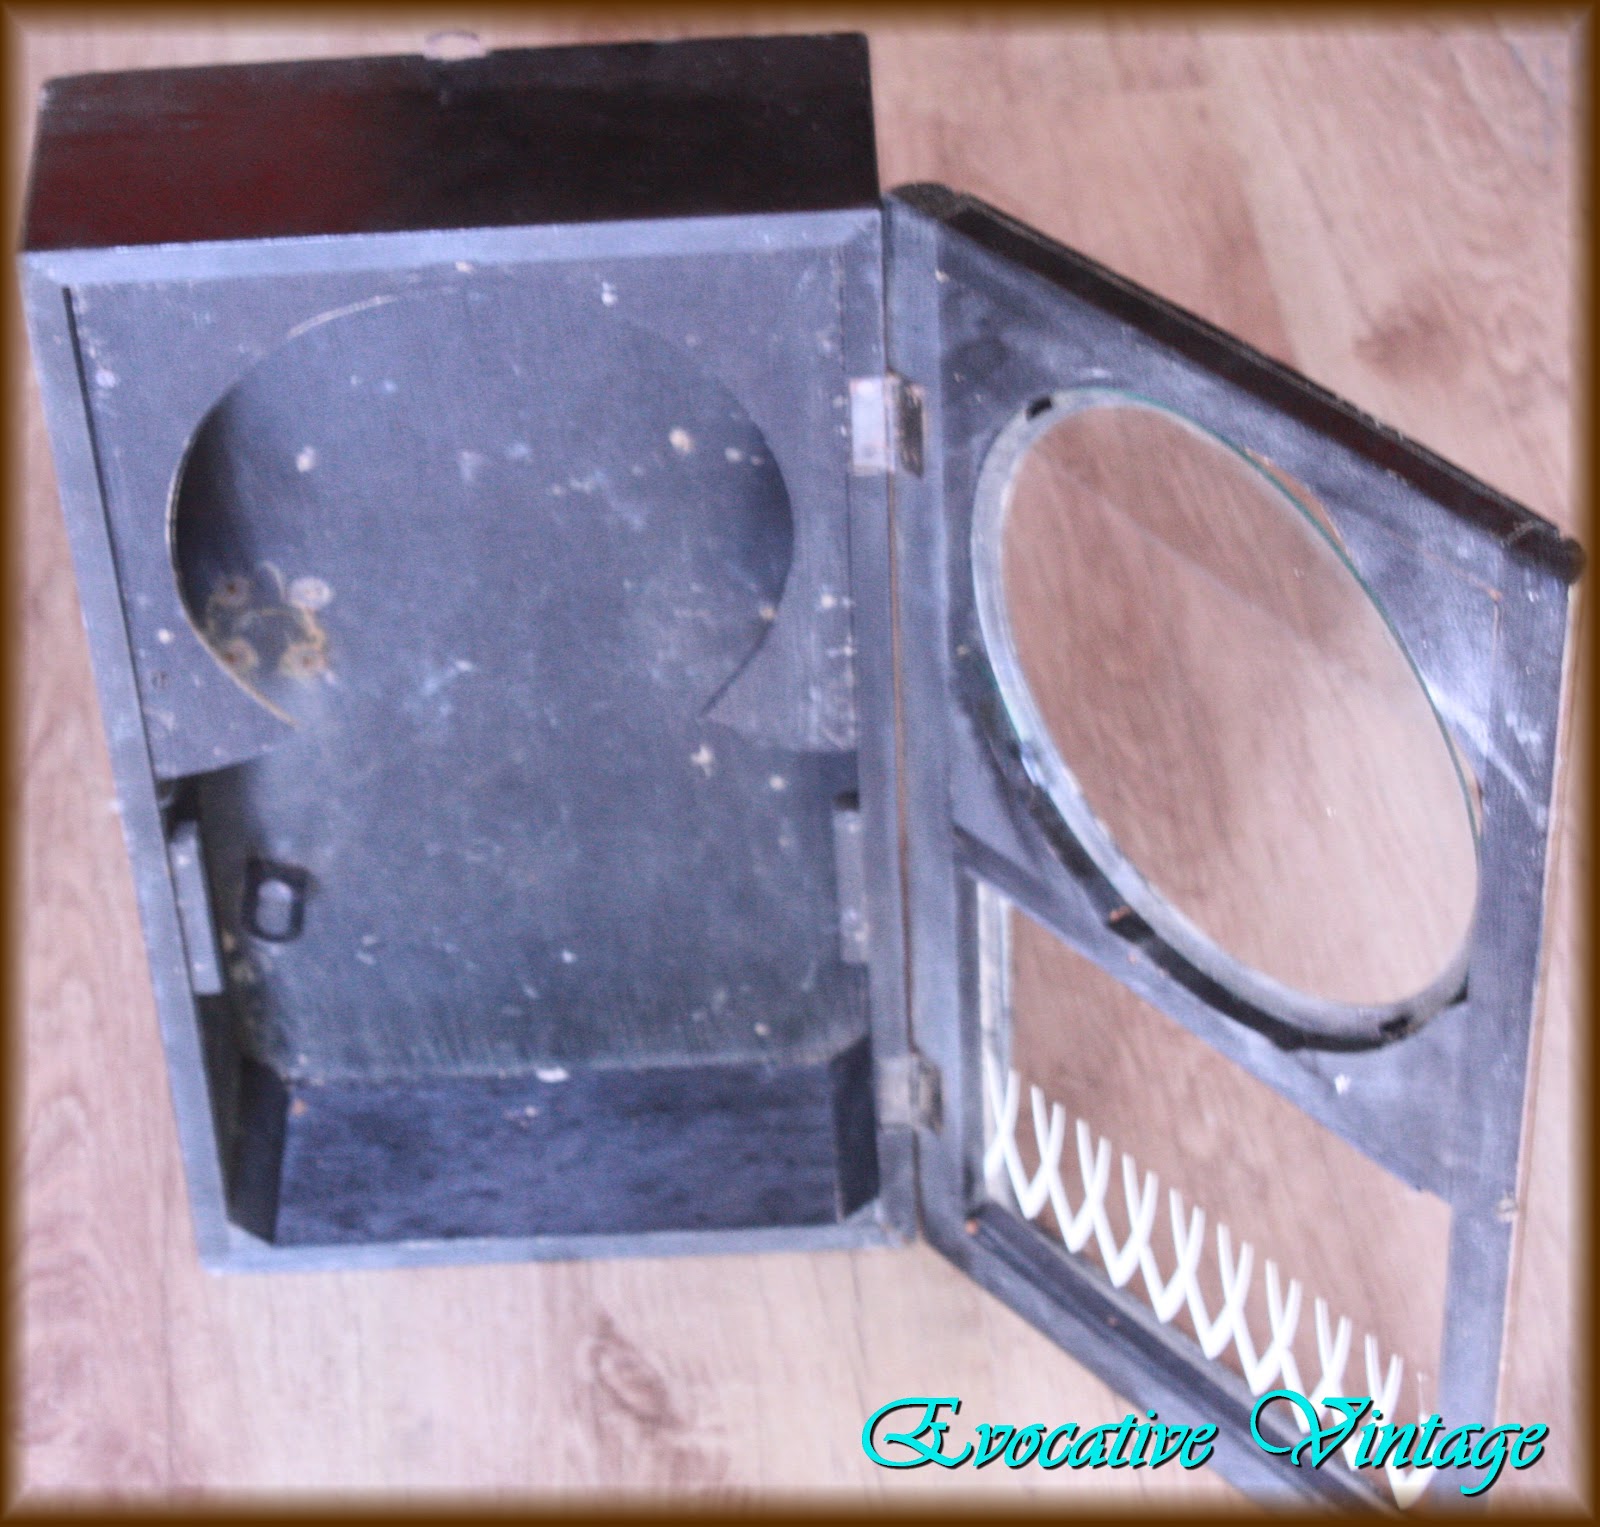
I found this clock case on online auction being sold as parts. I knew the interior was in pieces and had ideas to repurpose it as storage for keys, jewelry or candles!


I went over to The Graphics Fairy looking for images to go with what I had in mind. I came across a brag Monday feature where Karen bragged about Linda's moon face clock. Linda has a beautiful blog called Itsy Bits and Pieces. I posted a comment on Linda's blog and I gained a new bloggie friend:o)

I removed the domed glass front, scraped off the V pattern on the square glass front and painted my clock case black. I also freshened up the interior with a lick of black paint.

I followed Linda's tute to get the moon face into the round opening. I then had to find a graphic for the square section and The Graphics Fairy came to the rescue once again. I thought that the owl on a branch was a fitting partner for Mr Personality. I followed the same process to attach it to the square glass front.

Lovely on a mantel!


You've got to love this guy!


Lovely against a rich background!


A neutral backdrop!
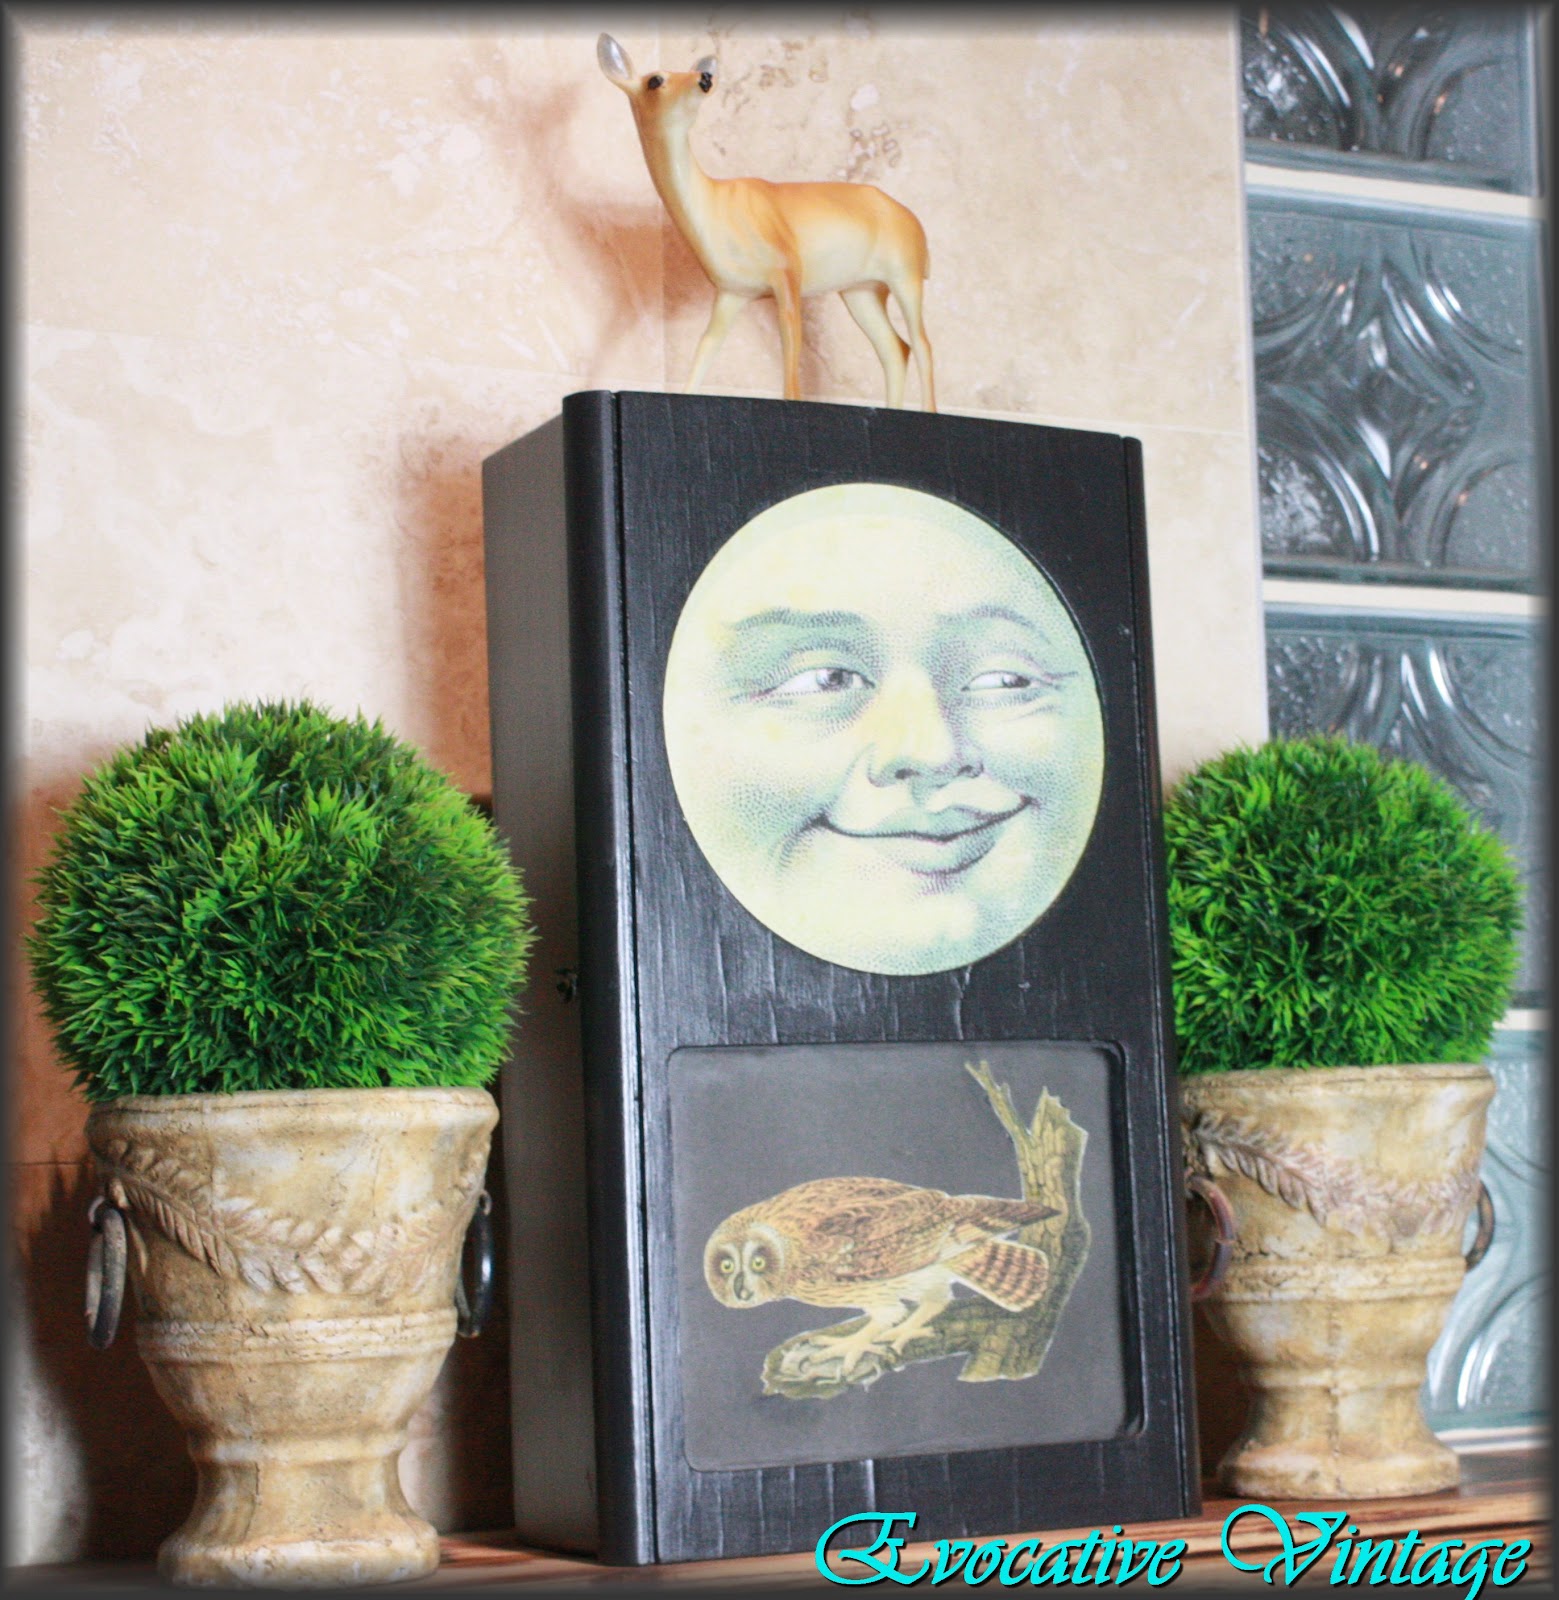

Simply adorable, whimsical and fun!!!!

Thank you Karen at The Graphics Fairy !

Thank you Linda at Itsy Bits and Pieces !

I am linking up with The Graphics Fairy Brag Monday !

e-voke...to create a -new!


Monday, May 21, 2012

Frenchy headboard

When it takes crawling to get the job done!

Another project I finished over the weekend for Chelsea Village Framers & Curiosity Shoppe.


I kept the paint job simple wanting the graphic to take center stage and I love how the crown has that 3D effect!

The colour looks very light in the pics because I shot outdoors!

I used a colour called Electric Shock by Plascon which is a lovely deep Frenchy blue!

This is the before pic!


It was a very difficult surface to paint, but chalk paint sticks to anything. It is melamine and someone had covered it with a duco spray paint with an orange peel effect. I lightly sanded the surface to get it smooth and sanded the sides of the posts with my mouse sander. The pedestals had been removed and had left quite an uneven surface on the sides of the posts!

When it was ready for paint, I gave it a few coats of the blue colour, lightly sanding between coats and making sure that none of the white peeped through!

I printed The Paris Address Image from the Graphics Fairy and used the 'Block Posters' software to enlarge the image. The image printed over 4 pages, so I built my puzzle using painters tape to keep the relevant pieces together.

When it was ready for the graphic, I laid the head board down flat on the floor, hence all the crawling...LOL. I used the lead pencil method to transfer the outline of the letters to the headboard. Hubs helped me get the position spot on. Once I had the image nicely transferred, I used my paint pen to fill in the lines, etc.

I then transferred the fabulous French Crown Image from the Graphics Fairy using the same method. The next day, I distressed the letters and the crown, added some antique stain all over and jumped in the shower while hubs gave it a final coat of clear varnish!


Zeki was impressed - his reaction? Oh Wow...just look at that!

I am linking up to the graphics fairy's brag Monday!


 e-voke...to create a -new!


Sunday, May 20, 2012

Shabby chic chair with image of the British flag

My first custom order....Yayyyy!

A couple of weeks ago I was contacted by Zeki after he found my lamp table on the internet. When he requested me to re-do a few pieces for his new decor shop, I jumped at the chance! Chelsea Village Framers & Curiosity Shoppe will be stocking a wide range of furniture, decor & gifts, ranging from Shabby chic, French Provencal, Mirrors, prints and much more. I am invited to the opening on 1 June and I will be doing a post on it!

Anyhoo, I've seen the image of the Union Jack everywhere on pillows, totes and the like, so I decided to use the Union Jack for this chair with its very simple lines!


I gave the chair a few coats of home made chalk paint in a soft grey, sanding in between coats. I found the image of the British Flag on the graphics fairy and used the modge podge method to transfer it to the seat.

When I removed the paper the colour had lost its brightness and I quite love the shabby, faded, distressed look!

I then decided to paint the back rest in a contrasting navy blue colour!

To finish the look I distressed the chair in places, added some antique rub in burnt umber and gave it a coat of clear varnish!


I am linking up to the graphics fairy's brag Monday!


e-voke...to create a -new!

Monday, April 30, 2012

Upcycled crate with French graphic

Cold, wet weather inspires me!

Another project done while the rain is pouring down in buckets!


I found this crate at our local recycling outlet, aptly called Just Junk!

The darling suitcase is from AnnaLouVintage on Etsy!

It was just a plain, old crate with nothing to write home about, but I loved its rugged look and its super sturdy construction!

I gave it some creamy mushroom colour, distressed it here and there, and added The Graphics Fairy image, French Invoice - Flower Seller from Here using the same method as my bread basket and bread board from Here. I painted the inside with a charcoal black colour for some depth!


I sealed the image with some spray on varnish.

Its holding my fresh parsley, basil and orignum before I take them out to the porch for re-potting!


Its raining, its pouring.....lovely day for hot, steaming veggie soup!

Linking up to http://graphicsfairy.blogspot.com/ brag Monday!


e-voke...to create a -new!

French inspired mail caddy - Paris letter graphic

Pairing up with hubby sweetness is fun!!!


It was a cold and wet weekend here in Cape Town. I had every intention of crawling under my blankie and watch some movies we hired, but as hubby was in the mood for doing some crafting of his own, I decided to finish this project!

Now I am going to play dumb and say that I cannot for the life of me find the before picture of this caddy! But let me just say, it was very plain Jane without the scrolly front panel and the hooks. It could have been some store display unit back in the day. I found her in an antique shop when I visited my daughter in Johannesburg over the Easter break. Prices were sky high in that store, so when I found 2 of these caddies for R200 ($25), I snapped it up knowing I can make something fab with it.
I used a few coats of French Chartreuse on this caddy, when it was dry which does not take that long when you use chalk paint, I used The Graphics Fairy Paris letter image from Here. I used the same transfer method as my bread basket and bread board from Here to transfer the image to the centre of the caddy. I then went over it with a sharpie paint pen!
I added the cute bird and crown with podge, also from The Graphics Fairy! The crown was a brown colour and I changed it up a bit by going over it with a gold paint pen!
And this is where hubby's part in this project comes in. He made the amazing scrolly front panel, added the cup hooks and the crystal knob!


I decided not to blur the image too much this time! I dry brushed some of the paint over the image and did'nt use any wood stain. I hand sanded the raised edges for that shabby chic distressed look, and used some spray on clear varnish to protect her new look!


I will show you the other caddy soon!

Linking up to the http://graphicsfairy.blogspot.com/ brag Monday!

e-voke...to create a -new!


Sunday, April 29, 2012

Freedom Day quick projects

I want to thank all you Awesome peeps who came over from Angie - Knick of Time to say 'Hi' and to welcome this newbie to Blogland:)

```````````````````````````````````````````

Friday was Freedom Day to commemorate the first democratic elections held in South Africa on 27 April 1994. So I made use of the day off to finish 2 quick projects. A bread basket and a bread board with graphic images!!!

1. Bread Basket


I was inspired by Angie's Antique Farmhouse Bread Basket but because I don't have a wired basket {YET}. I decided to repurpose a simple ply-wood box.

Here's how I did it:

I gave the box 2 coats of my greige colour in my home made chalk paint. I used The Graphics Fairy's French sign from Here. I printed the sign, attached it to the inside of the box with masking tape, face down and went over it with a lead pencil to transfer the image. I used a partial image for the sides!


Here it is with image transferred!


Then I went over it with my ink pen!

This left me with a very crisp image, but because I love the vintage, distressed look, I decided to rough it up a bit!
I distressed it and added my mahogany wood stain!

Then I had some doubts...help me out here....Is the crisp image better?


2. Bread Board

I used the same transfer method as the bread basket, distressed the image and then added a coat of mahogany wood stain!

 I used The Graphics Fairy's French sign from  Here.


Linking up to http://graphicsfairy.blogspot.com/ brag Monday


e-voke...to create a -new!


Tuesday, April 24, 2012

Duck egg blue tray with decoupaged antique clock graphics

Embracing friendship even though oceans lay between us!


This post is dedicated to my Muse, Angie Chevaz of knickoftimeinteriors and her love of old clocks. She is truely a goddess of inspiration. A wonderful person with a giving heart!


This was a fleamarket find! I love the cut outs and the shape but not the brown colour, the green felt and the shiny , brassy coloured handles. Hubby removed the felt with a chisel.

I mixed 2 shades of aqua colour to get this duck egg blue shade. I added some calsium carbonate powder for a chalky finish. I gave the tray a few layers of colour, then hand sanded along the edges and around the cut outs.

Next, I cut out the shapes of the openings from the same dictionary pages I used for my Junkman table and glued the shapes into the openings using my Amos glue (similar to Elma's).

Then I added a few layers of podge. I then went over to  knickoftimeinteriors and downloaded the antique clock graphics.

I was doing my happy dance when I found a square shaped clock graphic as well as the round ones!

I cut out the graphics and laid them over the dictionary cut outs using podge.

I cut narrow strips of the dictionary page and podged each strip over the handles making sure I was getting it securely fixed to the underside of each handle.

For depth, I rubbed in my Dala Antique Rub in umber and then hand sanded all over with 400 grit water paper for some variation and texture. Finally I sealed  it with a clear coat to protect its new look! I love it....I might add some glass inserts!!!

I am linking up to the 31st Knick of Time Tuesday Link Party.


e-voke...to create a -new!


01 09 10 11 12
Blogging tips