Tuesday, April 24, 2012

My Junkman Table - French Ephemera Decoupage

Embracing salvaged pieces transformed into something beautiful!


You have to drop in at the Junk Yard where you will find the The Junkman with his amazing  whatchamacallits, thingamajigs and his famous discounts. You never know what you might find.


As The Junkman would say...

'It’s all road and no bumps when you're headed to the junkyard. What started out as a way to get rid of junk, in my little workshop here at home, has turned into an addiction. I’m now consumed with finding unique and quirky things for the patrons of my ETSY shop. To be honest, some of the junk you’ll see here at my ETSY store, I didn’t even know what it was a couple of years ago.

Well, I called on the famous Junkman when I remembered this table top which was sitting in our storeroom gathering dust. I asked for legs and I got a lot more. Everything below the table top came from The Junkyard. Complete with markings on each individual piece and instructions to put it all together. Amazing!!! I sent some dimensions and a template of the top and received 4 short legs, 4 long legs, the bottom shelf and a piece to go under the table top to make it more sturdy - all the way from Texas. All hubby had to do, was screw all the pieces together and there ya go!

Anyhoo, here is the table before.....


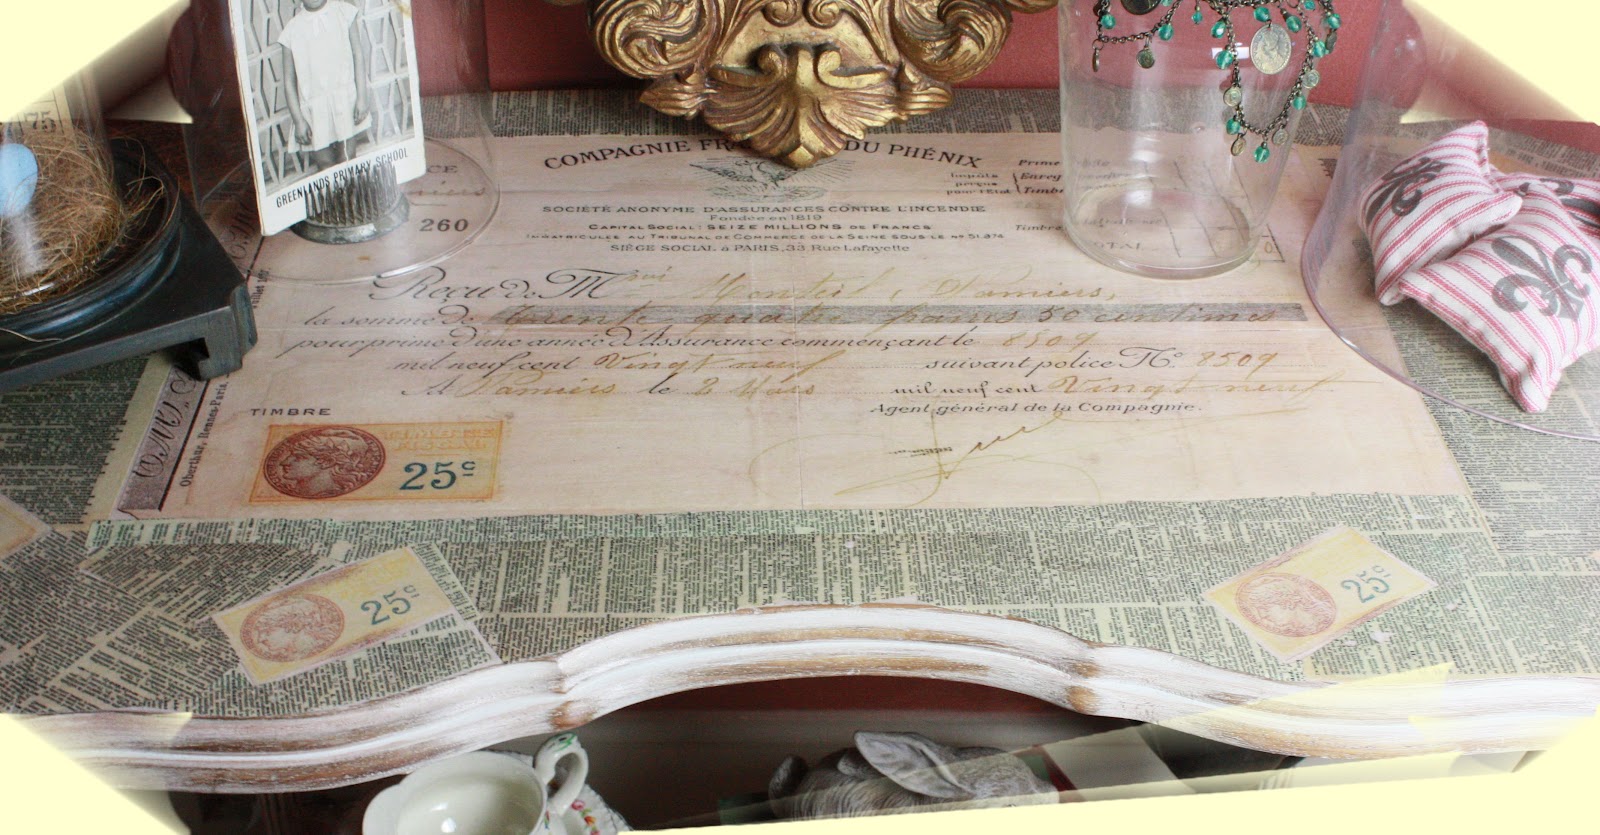
I gave it some loving with a few coats of my old white chalky paint. I then went over to The Graphics Fairy and found an amazing French document, and a dictionary page and decided to decoupage the top. The top is 900 mm in length and I needed a large printable. I found Karens tute Here on how to enlarge images!

I followed the instructions and printed an enlarged image; I played around with size and decided an image printed over 2 pages would be the best for my project. I photocopied a few of the pages that had the image of the stamp on it to use as inlays. I then started the decoupage making sure to line up the 2 sections correctly....easy peasy when you only have 2 puzzle pieces...lol.

Then I added the stamps which I had cut out to size; I used several layers of podge with an inno brush, waiting for each layer to dry before adding the next; each time working in the opposite direction.

Now I had some open spaces to fill; using tracing paper, I traced the design of each open space. I laid each tracing over a dictionary page and cut out the design. Then I used the same decoupaged method as before to insert the dictionary page cut outs.

I then printed a slightly smaller print of the same document and decoupaged it to the bottom shelf of the table. To finish it off I hand sanded the edges of the table and added some Dala antique rub in umber. Now it proudly shows off my collection of glass domes and some other pieces I had!

Thank you Junkman!!!!


Here is a close-up!!!
I am linking up to The Graphics Fairy Brag Monday!


e-voke...to create a -new!

Sunday, April 15, 2012

Shabby chic chalk paint lamp table

Thanks for stopping by!!!


My loving husband brought this table home for me to make over. When he spotted this qtie in a junk store he knew I would love to have her!

Of course I forgot the before pic AGAIN, but originally she was dark brown and needed to be refreshed!


I used the same paint effect as my Vintage wood shutters, but added this adorable Chocolate graphic from the The Graphics Fairy using the modge podge method.

After I removed all the paper I went over the transfer with my Rust-Oleum decorative paint pen for a sharper image....love it!!!


Once I was happy with the image I started the shabby chic look by hand sanding where it would naturally become worn over time. I also used the Dala antique rub in umber to enhance the distressing and a coat of beeswax buffed to a soft sheen!!!!


I am linking up to  brag Monday at The Graphics Fairy!!!


e-voke...to create a -new!


Vintage Wood Shutters - Rustic, Cottage Chic

Thanks for stopping by!!!


I bought this adorable pair of vintage wood shutters from Angie at  Knick of Time on Etsy.


As Angie would say 'Do something stunning with it'

I mixed 2 different paint colours Sterling and Silver Expressions from Plascon. I added some calsium carbonate in the mix for a chalky effect. Calsium carbonate is much easier to work with than plaster of paris - it leaves no grainy residue like the latter!!!

I almost dry brushed the paint on; I wanted to take most of the paint off to show the Yummy chocolate brown shade of the wood underneath...who does not love chocolate!!!


After the paint had dried, I started the shabby chic, cottage look by sanding away the paint in places. I attached the pretty bow appliques with Amos craft glue. Once the glue had set, I painted the bows in the same colour.


I highlighted the wood parts and the bows by rubbing on some Dala antique rub in Umber. Then I rubbed some beeswax all over and buffed it with a mutton cloth for a soft sheen!

I am linking up to the Vintage Style Link Party at Knick of Time!!!

This is the view when the shutters are closed!


e-voke...to create a -new!


Sunday, April 1, 2012

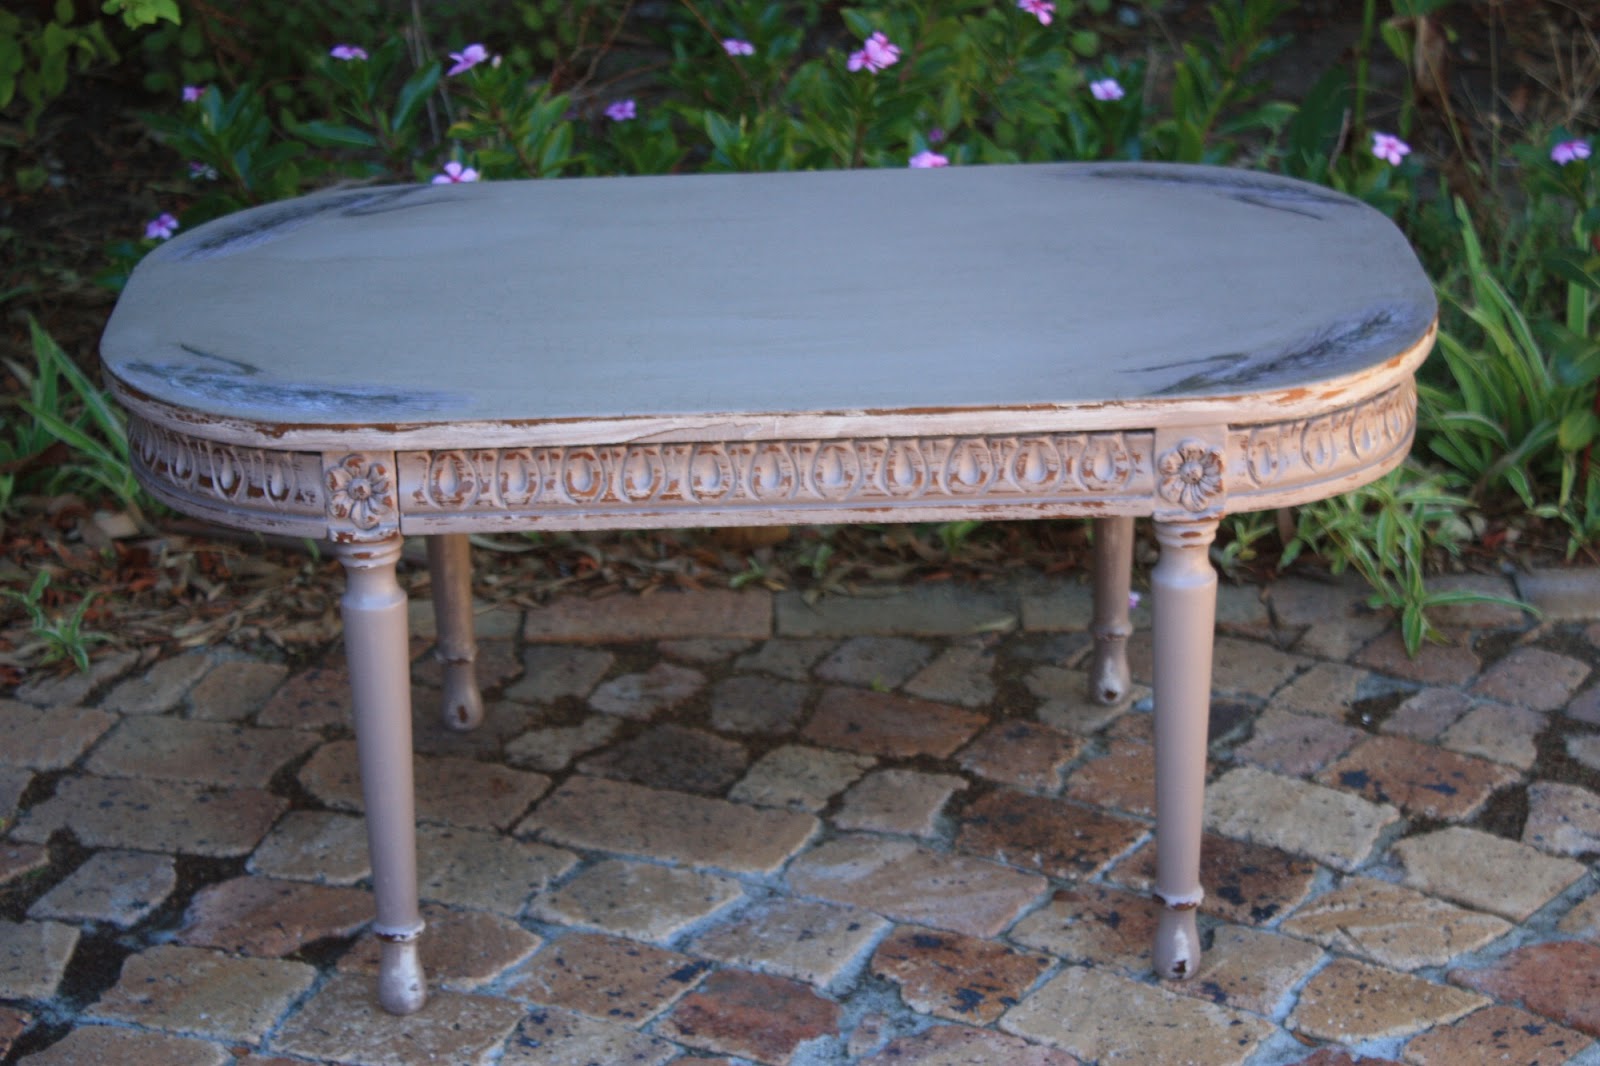
Antique Crackle Effect Coffee Table Make Over

I'm all cracked up!

The coffee table that gave me some heart stopping moments, but I am here to tell the tale ((*_*))


I found this table on Gumtree (similar to Craig's List). The first time it was listed the seller and I kept missing each other. A couple of weeks later I happened to be browsing Gumtree and here the table pops up again. This time I made sure to snap it up ...Twas meant to be!!!

Although it had minor damage, I loved the shape, the detail and the legs. I knew I was gonna lose the pretty rose inlay, but I thought I could re-create it with a transfer image or decoupage!

Well, thats where the 'FUN' started!

I gave her a colour called Elephant Hide mixed with plaster of paris!
When the paint had dried, I distressed all along the raised design, the edge of the table and the legs.

Then I printed a rose graphic and decoupaged it onto the center....it was completely off center and looked lost, so I ripped it off...ha...ha..ha...cleaned up the mess and repainted!!!

Then I found another grapic on The Graphics Fairy and decided to follow her tute on how to print large images. This went well after a couple of attempts and I started the transfer method with podge. Guess what? The transfer did not take well, so I cleaned up the mess and repainted!!!.

Then I decided to put an image on each corner, so off to The Graphics Fairy I went. I found an image of a sprig of wheat and I loved its simple organic look!!!

The transfer was a success....Yay!!!

Then I decided the antique crackle effect would look great and used crackling medium I had in my stash. Guess what? FLOP!!! Zero, Zilch cracks....all I got was a gooyi mess so I cleaned up the mess and repainted!!!., and that's when I covered up the table in disgust!

But I wanted CRACKS!!!!

So I bought the Dala crackle glaze and crackle base and tried again. This time I got my cracks...Yay!!!


I then rubbed some burnt umber oil paint into the cracks to enhance them followed by a clear varnish the day after!!!

Whew!!! What a journey!!!


All's well that ends well!!!


e-voke...to create a -new!


Sunday, March 25, 2012

Shabby Chic Cabinet Make Over

This week I felt like this!!!


WHY???

Compared with last week's success with transfers, I am hopelessly incompetent this week...LOL
Several Oopsies, rescue missions and mop up operations left my nerves hanging on a thread!!!

What with all my oopsies, cleaning house, cooking, listing items for sale, shipping and doing the post office run (I sold the French provincial end table the same day it got listed), I felt like a computer processing multiple inputs at the same time!!!

Anyhoo! I was hoping to finish my coffee table re-do to show you. This gal is now covered with a cloth 'cos I can't bear to look at the latest transfer FLOP....Grin...

I did manage to finish my cabinet at least, this was after yet another transfer effort turned pear shaped and unable to sleep, mind racing, I got up at 3am to do a decoupage rescue mission instead.

Now I can't find the before picture...oh lawdie...let me check on my other memory card! Found it!!!!


Here she is after a few coats of my fave moody blue colour!!! Before I discovered chalk paint!!!


Here she is finally in her new guise!!!


I distressed the heck out of her, added some mahogany stain, screwed in some brass drawer pulls, door knobs and key plates I had left over from other projects. The 3am decoupage was done with the same night poem;excuse the Pun, I used for my Glamour girl end table and the scraggly edges I did with some sheet music.

To the top I added my mid-century canisters, an old crock that holds teaspoons, a blue and white jug with blooms from my garden, my chalkboard, cheese dome, my Rooster milking stool and a yardage of French, red stripe linen , I am wanting to make into tea towels....and a little green heart adorns one of the knobs.


I came, I saw, I shot....Hi-Ya!!!!


e-voke...to create a -new!


Wednesday, March 21, 2012

French Provincial End Table Make Over

I forgot to take a before picture again, always diving stright into the make over process...lol. This was another treasure picked up in Hermanus. It had an outdated shiny, dark brown colour. Actually this table was sold twice. Only when I got home, I noticed the sold sticker...ouch!!!

I used the same transfer method as my Chalk paint Paris end table.


I gave this gal a few coats of my home made chalk paint (no primer needed despite the shiny surface Woo...Hoo). I used a colour called French Chatreusse which is a beautiful matt old white colour. Then I began the antique shabby finish by sanding along all the edges to give her that time worn look!! I am using a sponge sanding block which gives a brilliant natural finish!!


Then it was ready for my amazing French Ville De Saint Denis graphic which I found at
 The Graphics Fairy. You can search for any graphic your little heart desires and you will be spoilt for choice. That's how I found the gorgeous rooster for my Milking Stool.

I also used some mahogany wood stain and to my suprise the transfer took on a sepia appearance...I danced my Happy dance!!!

Finally I gave this gal a coat of clear varnish to protect her new look.

Now she says I am French and proud of it!!!!


e-voke...to create a -new!
Monday, March 19, 2012

Antiqued chalk paint end table - Paris graphic image

This week I am loving earth tones. Muted greens, greys, cement, stone...love it!


Another Hermanus junky find. I really found some fun stuff on our trip there! I don't have a very clear shot of the before, so I am jumping right in and showing you the finished table!! This darling has lovely curvy legs and a scrolly top!!

I really have to take better pictures...lol!!


Like the rooster milking stool, I used the colour called Cement Wash by Plascon mixed with plaster of paris for that chalky paint effect! I then transferred the Paris graphic using the Modge Podge method! I grabbed this graphic from Karen The Graphics Fairy.
I distressed the table in all the right places, and then rubbed in mahogany wood stain for the antiqued effect!


e-voke...to create a -new!


01 09 10 11 12
Blogging tips